You will need:
Plain white shirt, we used t-shirts
Permanent markers (Sharpies or other brand) in many different colors
Rubbing alcohol
Liquid dropper
Cup, empty jar, empty can
Piece of cardboard, I used the cardboard from the back of the Sharpie container
Rubberband (optional)
To create your masterpiece:
1. Place the cardboard in between the top and bottom of the shirt, this will keep the colors from bleeding through.
2. Place the cup under the shirt, on top of the cardboard. This will allow for the rubbing alcohol to spread properly and not soak up into the cardboard.
3. Make dots, lines, or squiggles in a small area on the t-shirt.
4. With the dropper, drop rubbing alcohol onto the design, drop by drop. Be careful not to oversaturate. The rubbing alcohol will spread and dilute the marker as it moves.
5. Stop adding when you get the dot size that you want.

Sometimes you just need to be happy with sitting still.

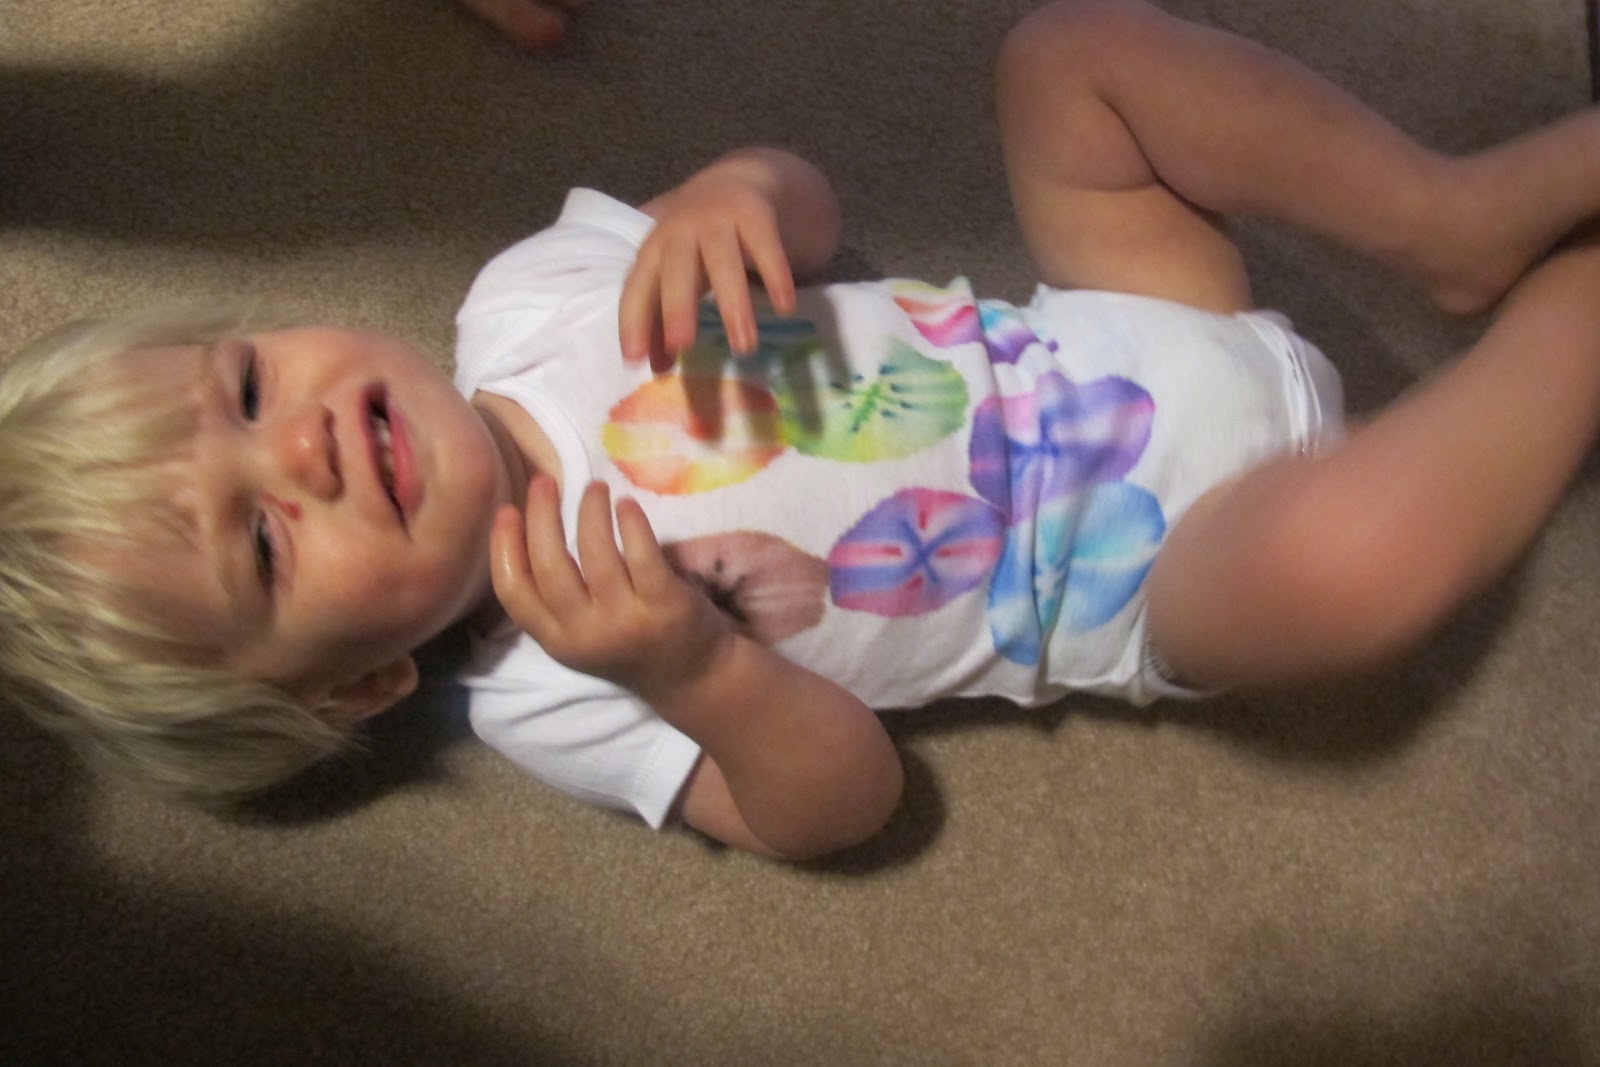
How sad, this was the best picture I got out of 10! He's such a wiggle worm. His are more oblong because I didn't have it stretched evenly over the cup. It's still cute and gives it a unique look.

Monkey calls it his pretty shirt, I'd have to agree!
Vicky
LOVE this idea! I'm definitely going to try it! The shapes/colors remind of sand dollars - perfect for beach cover ups! Thanks for sharing.
ReplyDelete