Pages

Showing posts with label Girl Scouts. Show all posts

Tuesday, November 27, 2012

Snowy owl craft

My Daisy troop did a fun and easy craft that they were still able to put their own mark on.  We're working on the 5 Flowers, 4 Stories, 3 Cheers for Animals journey.  This was a great craft that was clean, as we were meeting in the school library that meeting, and required little help from the adults.  Also a huge bonus.

What you need:

Pinecones - I used the ones from my neighbor's tree.  They're the kind with the flat bottom that you often see used with Christmas decorations.
5-6 cotton balls per pinecone
google eyes - We had some that were self sticking and my practice had regular glue, I think I preferred good ole Elmer's for this particular project
Brown fleece
White fleece
Glue or glue stick

Directions:
-Take the cotton balls and slightly pull them apart to make them look like cotton candy, then stuff it in the openings and all around the pinecone
-Cut out the feet and the wings and use an extra little triangle from the brown fleece to make the beak
-Attach* the feet, wings, eyes, and beak by putting the glue on [the beak, wing, eye, beak], not on the cotton ball or pinecone.  Happy flying!
*If you have girls that are a little heavy handed with the glue, you may want to use the glue stick, the glue will ooze out a bit through the fabric if you use too much.

Some of the girls were quite creative and used their extra material clippings to make accessories for their birds.  We had owls wearing aprons and hats when we left!  Others were able to get their owl's wings to stick out to make it look like it was flapping.

This is Sunshine's owl.  She said that her owl was cold!

Vicky

Friday, November 16, 2012

Turkey craft

I am thankful for...

all sorts of things, and so are my Daisies.  I am always amazed at the ideas these girls will come up with as well as the direction a thought will lead.  I love turkeys and they are a great craft but I am almost guaranteed to get a turkey-hand craft from school.  These are sweet and I love having the size of their hand marked out, but I didn't need to add to the collection.  Instead we made a turkey with their ideas and thanks written in their own first grade handwriting.  Simple enough project that you can help and do as much as you'd like or let the girls do it all.  I decided to cut the body out, the feathers, and write "I am thankful for..." on the body.  If I were to do it over, I wouldn't write on it.  Many of them rewrote on it anyways.

Supplies:

Construction paper, including brown for the body.
Glue/glue sticks
Markers or crayons

Directions:

Cut the body of the turkey out in a peanut type shape.  I had thought about having the girls trace their foot, but envisioned 15 little girls not knowing how to tie their shoes and needing help.

Cut out "feathers", at least 5 per turkey.

Glue the feathers onto the back of the turkey and have the girls write different things they are thankful for on each feather.  If they are not able to write it, have them draw a picture of what they are thankful for.

Draw a face on the turkey.

Hang in your front window for everyone to see!


Vicky

Friday, August 24, 2012

Dot-to-dot Sharpie t-shirts

Fun and easy to do, it's a t-shirt (which means it's functional!), and I won't be embarrassed by them wearing them out in public.  It's fun making crafts that are cute and all, but after awhile it gets frustrating having all of their works of art and wondering, now what?  So a craft that isn't junk is the best kind of craft.  This definitely requires your help as it does require a permanent marker and rubbing alcohol.

You will need:
Plain white shirt, we used t-shirts
Permanent markers (Sharpies or other brand) in many different colors
Rubbing alcohol
Liquid dropper
Cup, empty jar, empty can
Piece of cardboard, I used the cardboard from the back of the Sharpie container
Rubberband (optional)

To create your masterpiece:
1.  Place the cardboard in between the top and bottom of the shirt, this will keep the colors from bleeding through.
2.  Place the cup under the shirt, on top of the cardboard.  This will allow for the rubbing alcohol to spread properly and not soak up into the cardboard.
3.  Make dots, lines, or squiggles in a small area on the t-shirt.
4.  With the dropper, drop rubbing alcohol onto the design, drop by drop.  Be careful not to oversaturate.  The rubbing alcohol will spread and dilute the marker as it moves.
5.  Stop adding when you get the dot size that you want.


Sometimes you just need to be happy with sitting still.


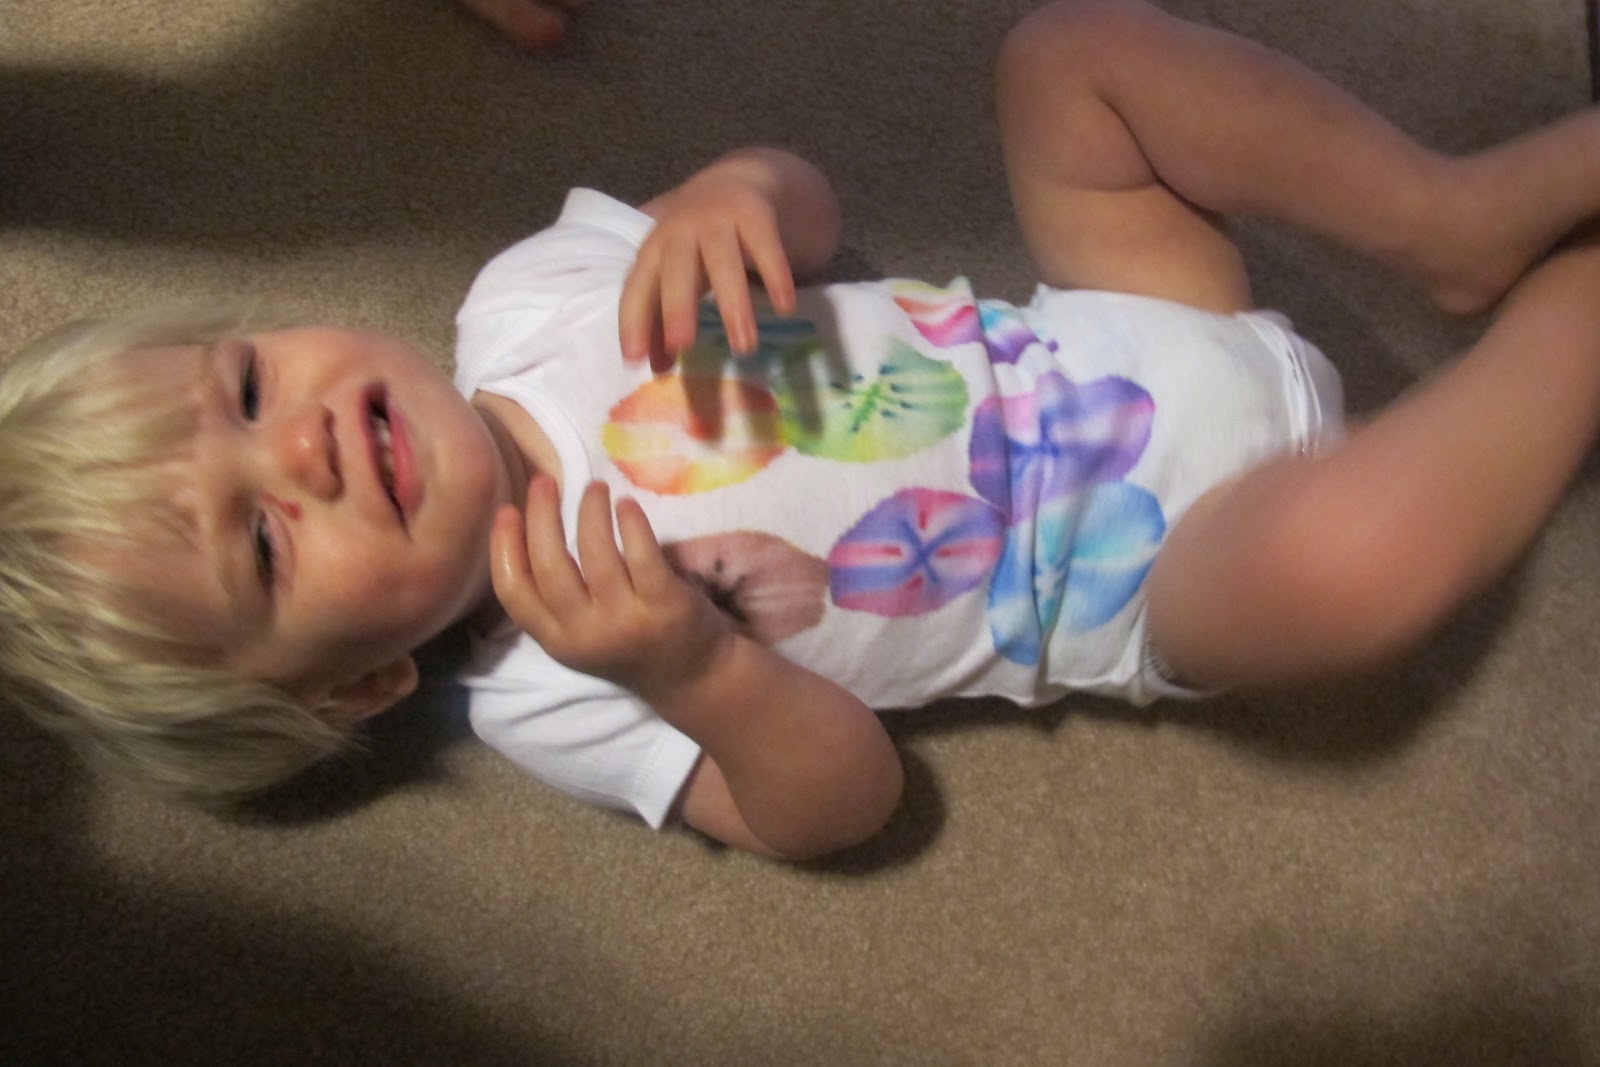
How sad, this was the best picture I got out of 10!  He's such a wiggle worm.  His are more oblong because I didn't have it stretched evenly over the cup.  It's still cute and gives it a unique look.

Monkey calls it his pretty shirt, I'd have to agree!

Wait for it to completely dry before you wear it.  Every shirt will be different and fun.  If you choose a thin shirt, the colors will be darker, thicker shirts will require more marker or moving the marker slower.  These were the thin Fruit of a Loom shirts that you get in a package.  I think I prefer the thinner shirt, it's cooler for summer and it's brighter.

Vicky